Celerant Cumulus
Integration
The Cumulus Credova integration is quick and easy to use for linking your Credova account with your Cumulus back office.
- In your Cumulus back office, a Credova payment tender will need to be created like the screenshot below

The settings for the tender should display like in the screenshot below with the “Use with e-commerce” option checked. This will be used to communicate the tender from your back office to the site.

-
Provide the API credentials (received from Credova) to your Celerant Web Implementation Manager. The API username is usually a mix of 6 alpha/numeric characters. The API password is usually a mix of 64 characters. The credentials will be emailed to you from Credova, but are also available in the Credova Portal, https://lending.credova.com under API Credentials.
-
Celerant's Credova Integration specialist will use the credentials to configure Credova on your website.
Shopper's Journey
Credova will display on your site in the following areas:
Product Listing Pages
You will need to make a request to your implementation manager for Credova to be displayed on the product listing page.

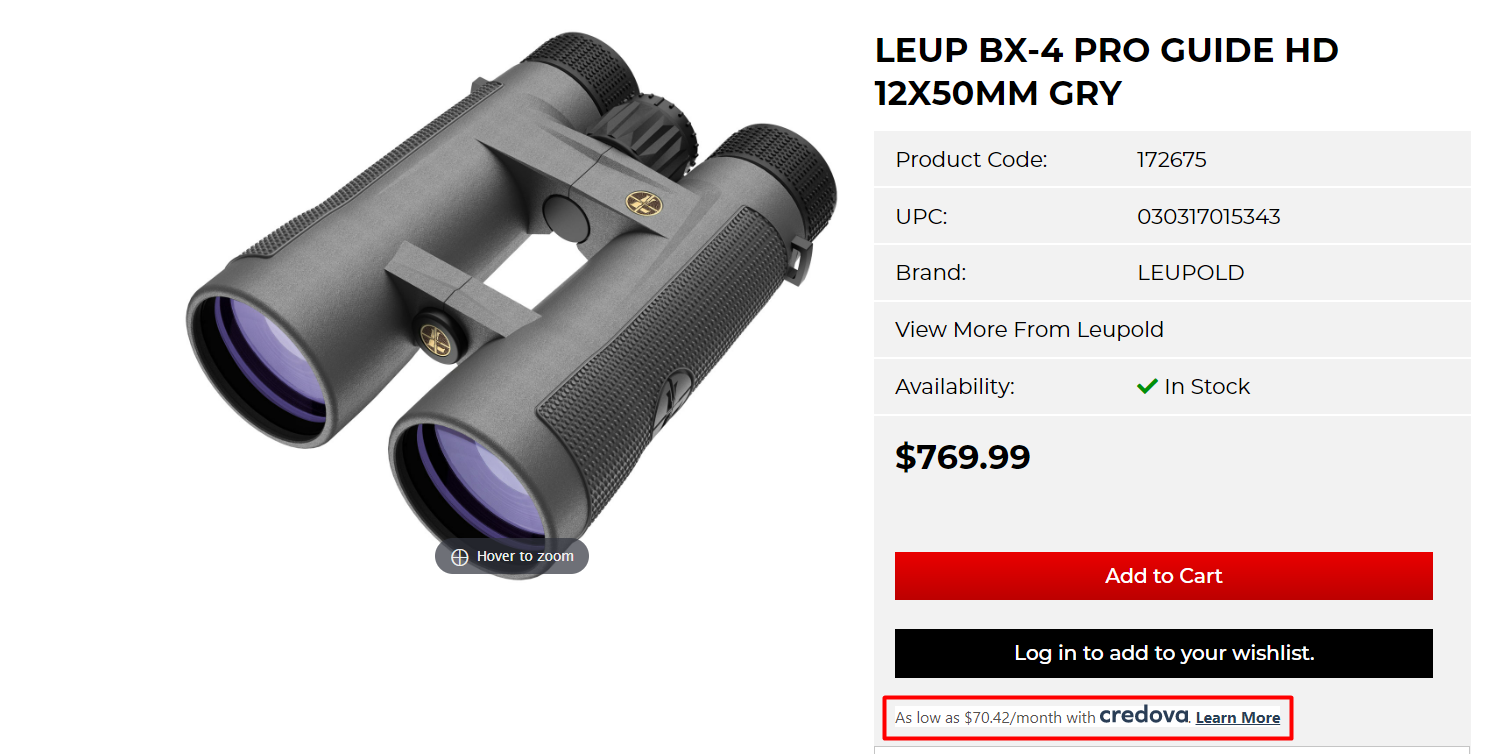
Product Detail Pages where product price is between $300-$5000.
Orders & Returns
- Go to Sales Tracking--Receipts

- Select Store 90
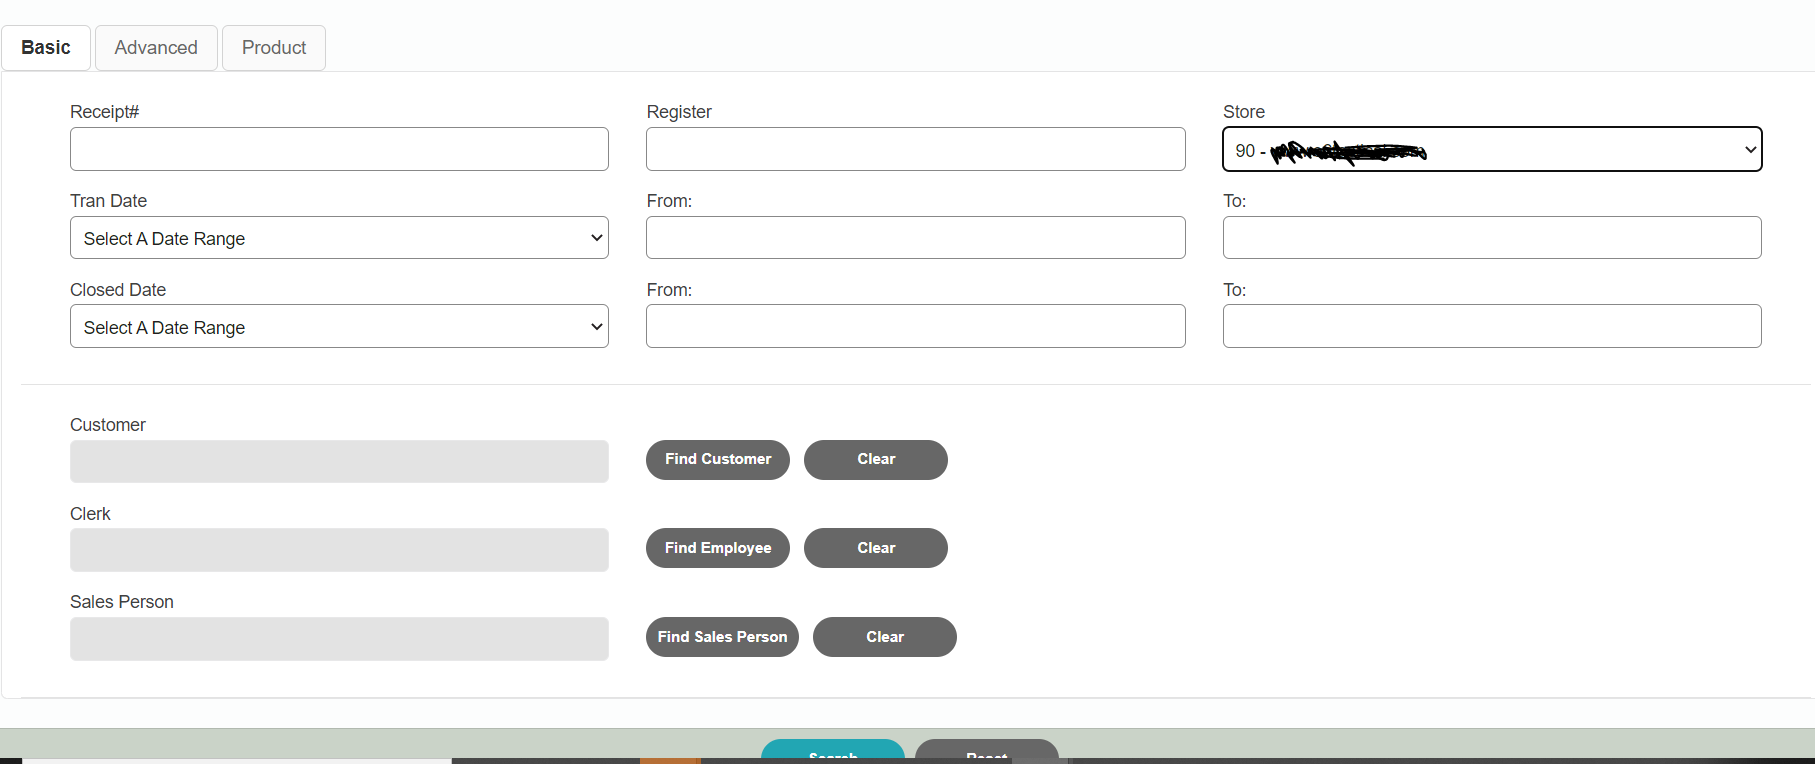
- From there you should have a list of every receipt from your website from which you will be able to view in detail the item ordered and the how much Credova payment used.
- This should be reconciled against the record in the Credova Portal.
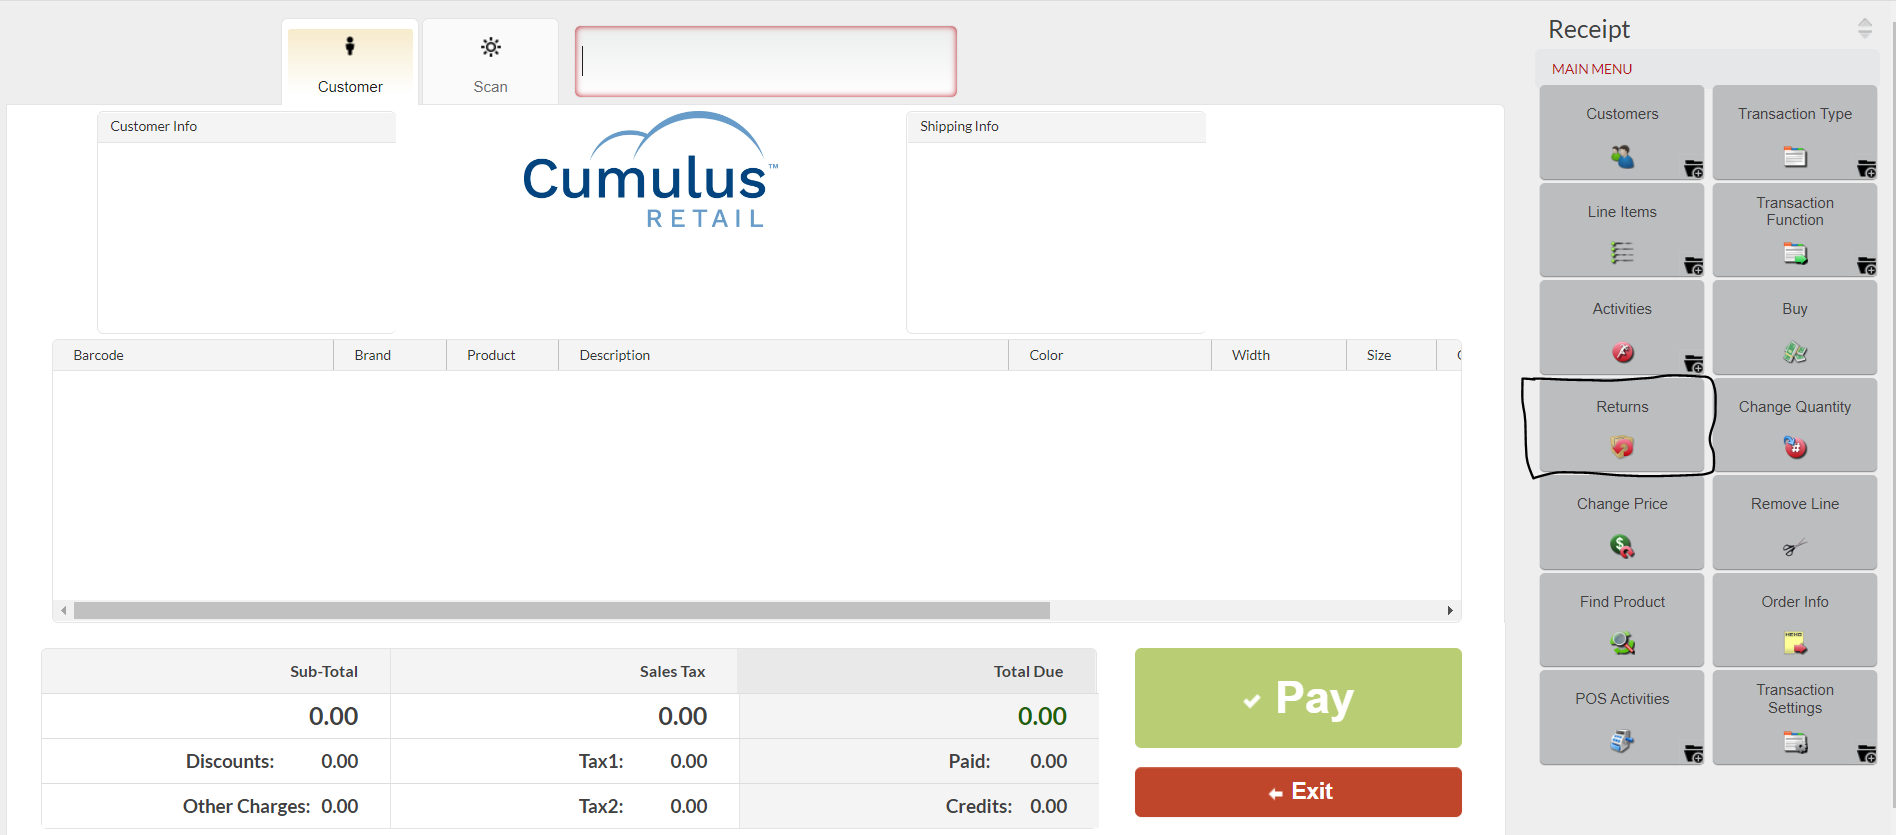
For returns to refund the customer, this should be done in your Credova portal, https://lending.credova.com. However, to mark the order as a return in the system and to return the item back in your inventory, you are able to process the return in your POS.
-
Click the return button in your POS and follow the prompts.
-
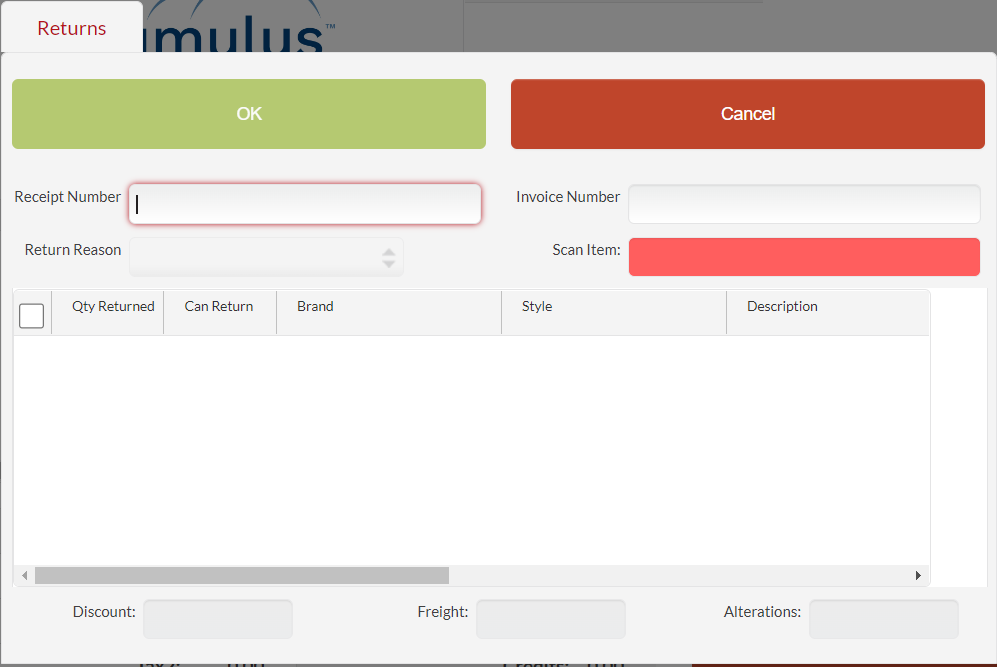
Enter the receipt number.
-
Select a return reason.
-
Once the product displays in the window, it will need to be selected and the number of items returned will need to be entered.
-
From there the normal return functionality will take place.